Showing posts with label crafts. Show all posts

Monday, March 16, 2015

A Quick St. Patrick's Day Gift


My girls and I love to give gifts!
We're not Irish, but we'll take any holiday 
to bless the people we love.
This is what we're gifting our beloved teachers at our homeschool co-op this month.


I came across this fun idea via Pinterest.
You can check out the brilliant gal who came up with the idea here.

But I had to switch it up when I 
came across these beauties at Target


I am a sucker for mason jars- aren't these just the cutest size?
And hello- GREEN lids!

After filling our adorable jars with rainbow seeds.
aka- Skittles
we used  2 1/4 and 1 1/4 size punches 
to decorate the lid with fun paper. 


Then to jazz it up a bit,
we put it in a cellophane bag with a few bricks of gold
aka- Hershey Nuggets.

  
We wrote our note of thanks on fun paper, then
tied it up with lace and ribbon!


Now I'm off to throw in some corned beef in the crock pot!
Don't forget to wear green tomorrow!


Monday, March 2, 2015

Momma Craft Night


I'm writing this post with such a FULL heart.

On Friday I had a group of friends over for an evening of crafting, fellowship, and chocolate.
God put this idea on my heart a few months ago.
But fear and insecurity kept me from following through.

In January, I spent quite a bit of time praying about JOY in my life.
And again this idea of having friends over 
for a craft night came up.
So I finally followed through and I am SO GLAD I did!
I prayed all week that God would use this night to bless my fellow homeschooling momma friends,
but He truly used this night to bless me.

Here's what we made:


We used fun paper to cover notebooks and clipboards.
All you need is:

  • Fun paper
  • composition books
  • clip boards (Goodwill and Walmart is where I bought ours on the cheap)
  • Mod Podge
  • foam brushes
  • scissors
  • Cute adornments- ribbon, washi tape, . . .doilies(of course)
  • chocolate
It was so fun to watch these ladies create!
Each journal turned out so unique!
These are the two I made.

 I will say, no one else appreciated the doily as much as I do.
Hee hee.


The clip boards were just as fun.
I plan on using mine for clipping up memory verses on our wall.


It was such a great night.
I am so thankful for each gal who came.
It was a night filled with sweet conversations and lots of giggles.

I can hardly wait for our next gathering at the end of this month!

I would love to encourage you to step out and do something that has been lingering on your heart for a while.

You will be blessed!


Thursday, February 12, 2015

Quick and Easy Last Minute Valentine Gift


I love Valentine's Day.
And St. Patrick's Day.
Easter.
Christmas.
Cinco de Mayo.
Groundhog's Day.

I love any reason to decorate, bake treats and give a gift.

The girls are SO INCREDIBLY blessed to be taught by a list of amazing teachers every Tuesday.
Each month we try to give them a little gift to encourage and say thank you.
Because there are about 10 people, we have to keep our gifts fairly inexpensive.
But I'm a true believer that no matter how little the gift, 
it truly is the thought that counts.
Just something to let that person know you're thinking of them.

And cute packaging helps too.

This is what we created for our February gift

 I'm a sucker for cute bags.
I probably bought these 6 months ago knowing that we could use them for a gift.
Target end-caps are a great place to find cute bags on clearance.
I have a whole box of many different kinds and they come in quite handy!


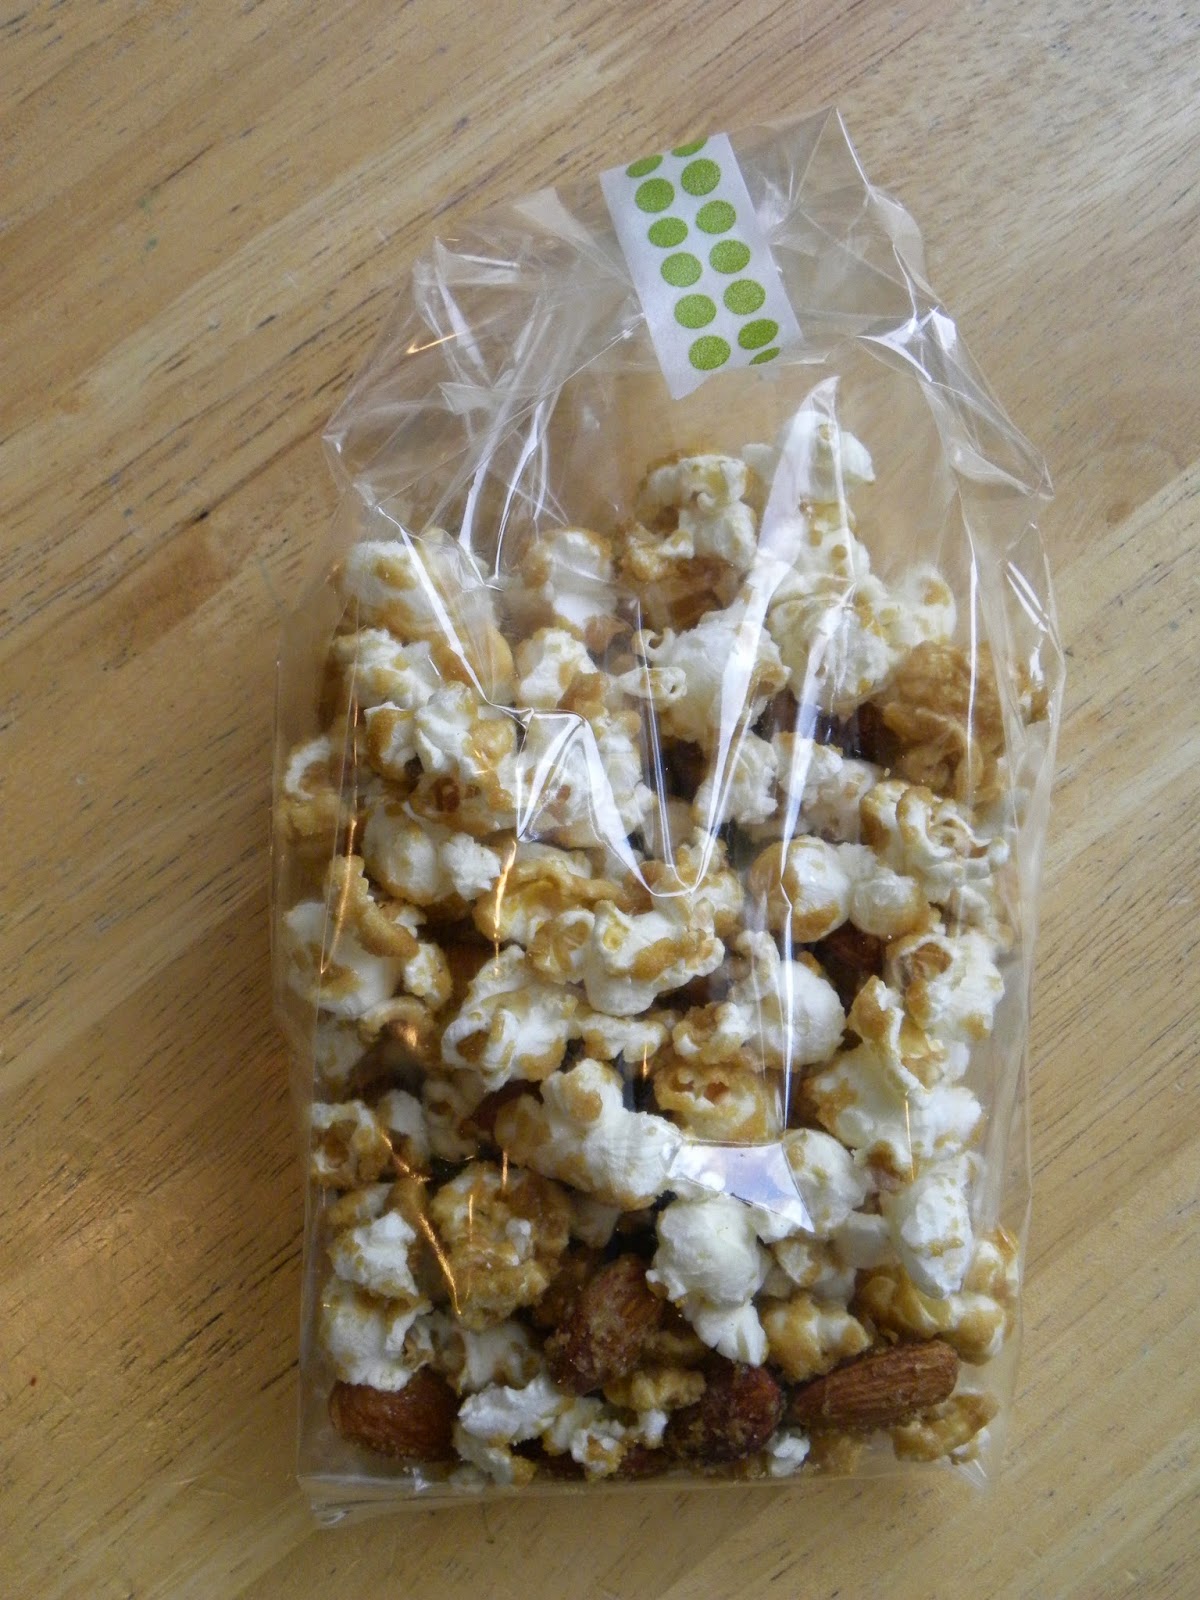
We started with good ol' popcorn.
(raise your hand if you feed your family popcorn for dinner once a week)


Then we made some deeeeeeeeelicious caramel and drizzled it all over.


Baked it for about an hour.

 Filled cellophane bags.


Then made them all cute and ready to deliver!


It doesn't take a lot of time or need to cost a lot of money to let someone know you're thinking of them.

Here's the yummy recipe we used.
It's my Amazing Aunt Mary's.
(she's an incredible cook)


Ingredients:
1/2 cup popcorn kernals, freshly popped
2 cups whole almonds
1 1/4 cup packed brown sugar
1/4 cup butter
1/4 cup light corn syrup
2 teaspoons vanilla
1/2 tsp. salt
1/4 teaspoon baking soda

Preheat oven to 250.  Generously butter a large baking pan.  mix popcorn and almonds in prepared pan and stick it in the oven while you make the caramel.

Combine sugar, butter, and corn syrup in saucepan.  Whisk over med-low heat until butter is melted and sugar dissolved.  Attach candy thermometer to side of pan, increase heat to high, and boil without stirring until thermometer reaches 255 F. (about 4 minutes).  Remove from heat and stir in the vanilla, salt, and baking soda. (it will bubble up a bit)  Pour over the popcorn and gently stir until coated.  Bake for about an 1 hour 20 minutes- stirring every 20 minutes or so.  cool completely in pan.

You may want to double the recipe because it will be munched fast!


Friday, February 6, 2015

Our Annual Valentine's Party


The girls and I look forward to this day every year.
We started this sweet tradition 3 years ago, and every year it's a little different.
It's so fun to deck the house out in hearts and cover anything edible in chocolate.

 One lil' tip I have if you're going to throw a crafty party is to always cover your work tables in paper.
It makes clean up easy peasy!


We set up extra tables in the classroom and lay out all the goods needed to create a few fun crafts.
We keep the craft ideas pretty simple so the girls won't need too much assistance.
Then the mommas fill their coffee mugs and go hang out with all the food.

Here are a few of the crafts we made:

 First up was this adorable Love Bug

Supplies Needed:
yarn
googely eyes
pipe cleaners
hearts for the feet
and a way to make pom poms

AS you can see from the picture they are quite simple to make.  If you're unsure on how to make a yarn pom pom, pinterest is FULL of tutorials.

Next:

 Jar Tissue Paper Candle Holders

 Supplies:
jar
tissue paper
glue
an old lid or paper plate to squirt your glue into 
paint brush

Again, super simple.  
Cut your white tissue paper into squares.  
Cut hearts out of various colors. 
Glue a coat of white tissue paper to cover the jar, using a sponge brush.
We watered down the glue a bit to make it more spreadable.
After the white dries, glue on your hearts!

 They really do put off a beautiful glow.
And the girls feel so proud when I light them.


Next on the list:

Heart Bouquets!
I think this one  might have been a favorite.


Supplies:
jars
shish-ka-bob  skewers
pretty paper hearts
ribbon and lace
 (tip: we used Starbucks Frappacino bottles.  The bummer part about that is you have to drink a case load of those delicious mocha frapps.  The things we do for our children's happiness)

All you do is glue two hearts between a skewer and plop it into your cute jar.
Tie on some ribbon and lace and you have a beautiful bouquet!

Wouldn't these make a fun teacher gift?
Or Grandma gift?
Or piano teacher?

Next up: 

 Doily Bunting!
I've said it before and I'll say it again,
doilies make EVERYTHING cuter!

 Supplies:

doilies
twine
glue
felt hearts

Could NOT get any easier then this.
Ready? 
Cut twine to desired length.  Fold doily in half. Glue halves together. Glue on hearts. Repeat.
Done and done.

Aaaand the last little crafty diddy:

 Stapled heart banner

Supplies:

cute paper cut in strips
stapler


We had such a FUN afternoon.
The mommas vowed to do this with our girls more often.
AND . . . I decided to host a craft night for the mommas once a month!
Starting at the end of this month!
I'm so excited!!

Remember in yesterdays post I talked about squeezing in more time for the things that bring me joy?
I'm breathing deeper all ready.


Wednesday, February 12, 2014

A Quick Valentine's Present


Need a last minute Valentine for someone special in your life?

Here's one that is super quick and inexpensive!
(a perfect combo for me)

It's also yummy and cute!

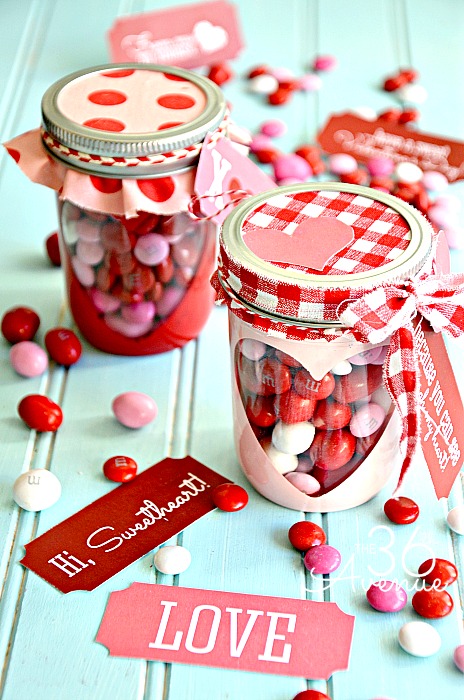
First let me show you the picture that inspired me on Pinterest

Super cute FREE Valentine Printables and Heart Candy Jar Tutorial at the36thavenue.com Pin it now and make them later! #valentines 

Cute right? 

But once I read the tutorial and found out that you had to spray paint the jar, I switched it up.
Spray painting in Montana in winter is challenging, 
and remember I needed it to be quick?

So here's how I switched it up:

 I used canning jars, cupcake liners, a scrap of happy fabric and M&M's

 First I layed the cupcake liner in the lid rim and put the insert over it to keep it in place.
Then I filled the jar with treats and screwed on the pretty lid.

I love the way the cupcake liner makes little pleats around the lid rim.


To 'cutesify' the lid, I tied around a strip of fabric and attached a little love note.


Walah!

A super cute Valentine gift done in less than 10 minutes.


We made quite a few to hand to all the amazing teachers in our girls' life.
It truly takes a village and we wanted to make sure our village knew they are loved and appreciated.

And now I need to whip up fun treats for my girls . . .

Can you tell I love Valentine's Day?